How to Paint Doors Like a Pro: A Comprehensive Guide from AVL Painting
At AVL Painting, we’ve been perfecting the art of transforming interiors for years, and one of the most impactful ways to refresh your home is by painting doors. Whether it’s updating painted cabinet doors, refinishing cabinet doors, or selecting the best paint for doors and trim, our team of experts has the insights you need to achieve professional results. In this guide, we’ll walk you through everything from preparation to finishing touches, ensuring that your doors look flawless and withstand the test of time.
Why Door Painting Matters?
Doors are often overlooked when it comes to interior updates, but they play a crucial role in the overall aesthetic of your home. A beautifully painted door can tie together the design of a room, add sophistication, and increase the longevity of the surface. By using the right techniques and products, you can elevate your space without breaking the bank.
Step 1: Gather Your Supplies
Before you start, it’s essential to have the right tools and materials on hand. Here’s what you’ll need:
- Paint: For the best results, use high-quality interior door paint or paint specifically formulated for doors and trim. Semi-gloss or satin finishes are ideal for durability and easy cleaning.
- Primer: A good primer ensures even coverage and improves adhesion.
- Sandpaper: Use 120- to 220-grit sandpaper for smoothing the surface.
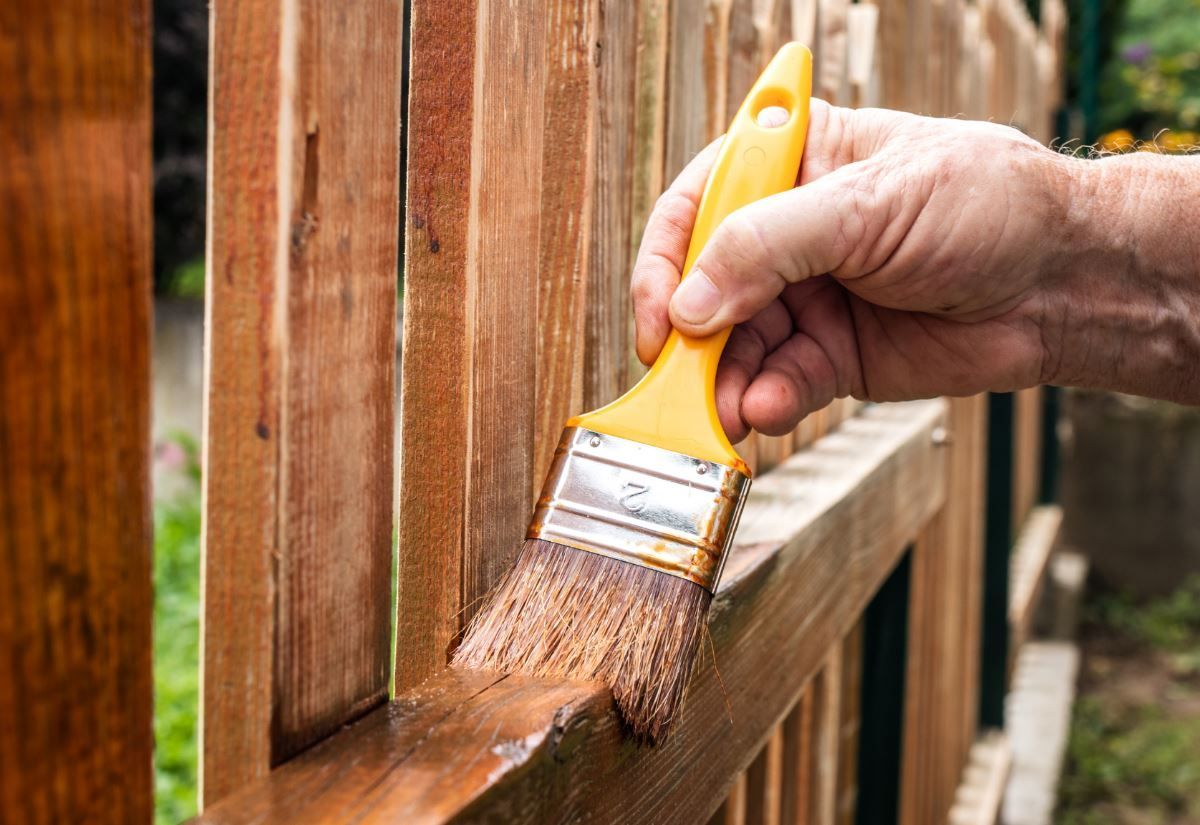
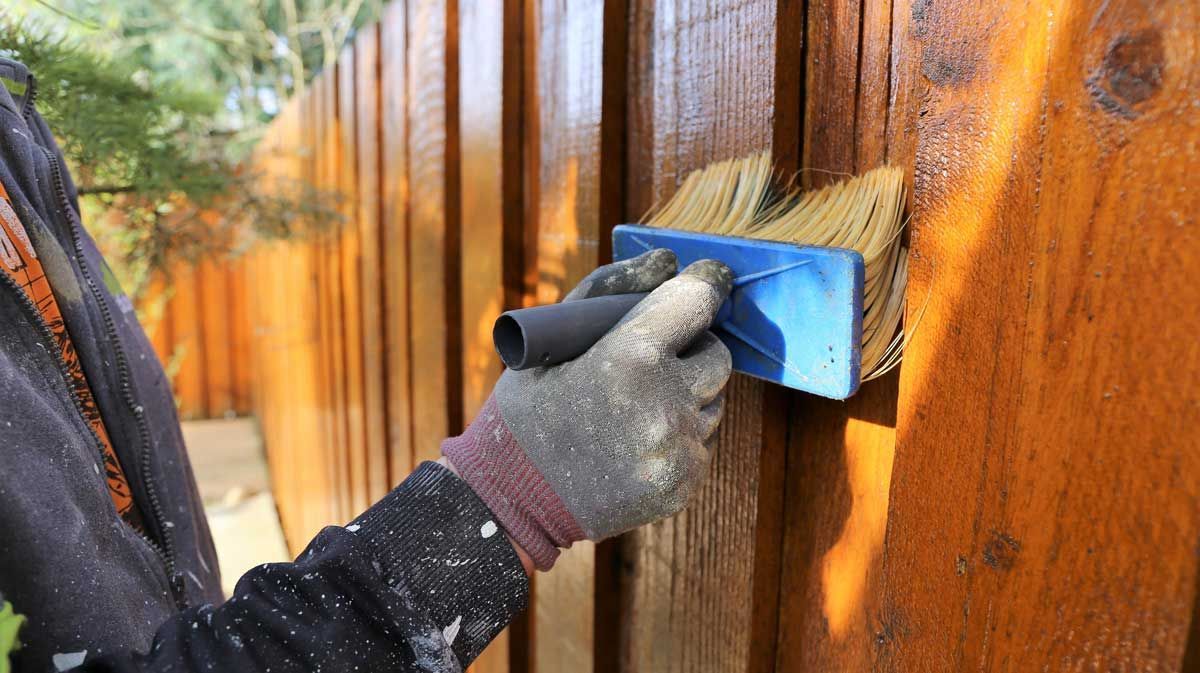
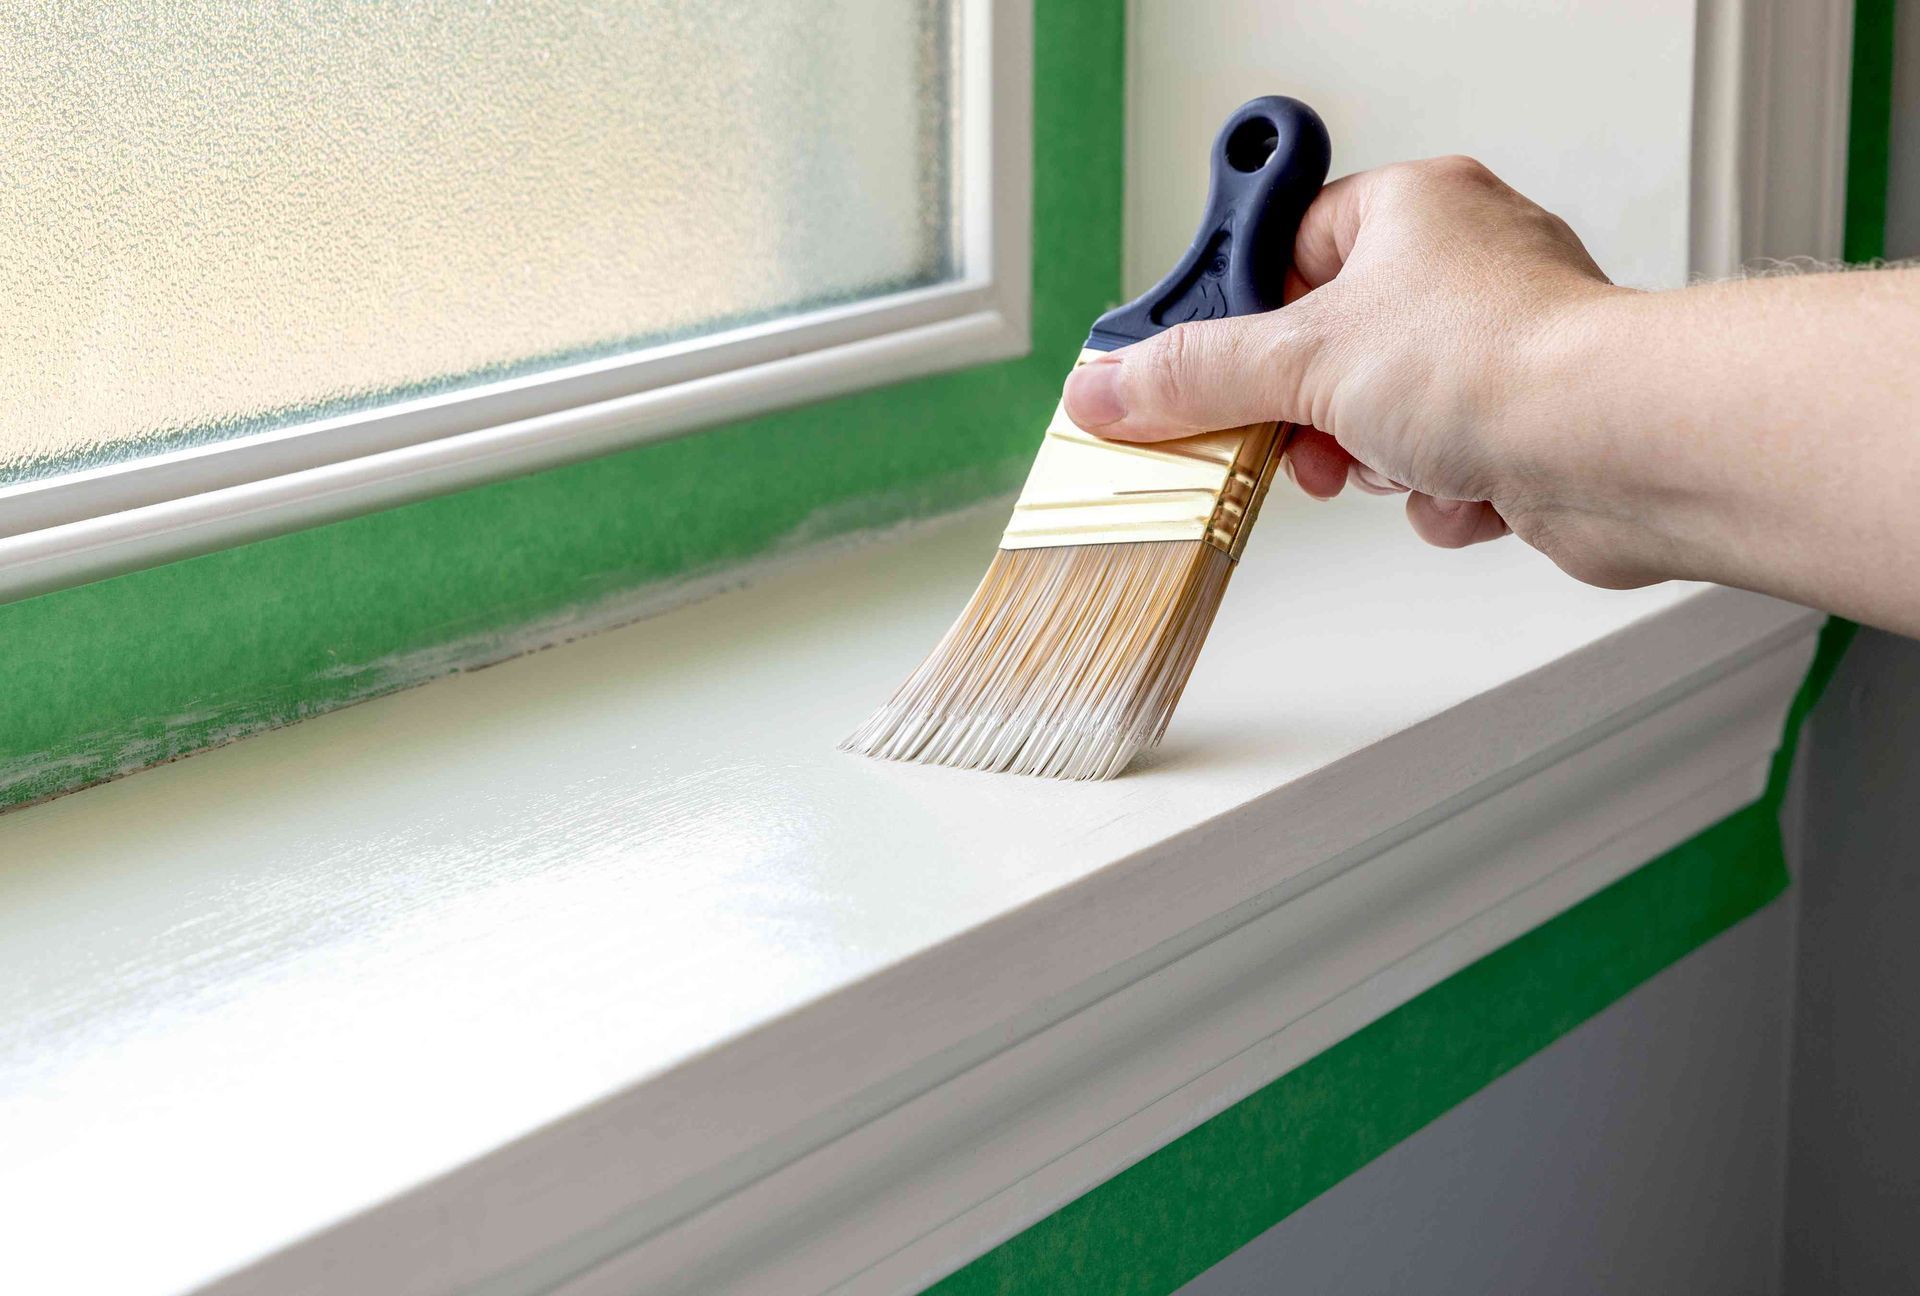
- Paintbrushes and Rollers: A high-quality angled brush is perfect for edges, while a foam roller creates a smooth finish on flat surfaces.
- Painter’s Tape: Protect surrounding areas from paint splatters.
- Drop Cloths: Keep your floors and furniture safe from drips.
- Cleaning Supplies: A degreaser or mild soap and water will help remove dirt and grease from the door surface.
Step 2: Prepare the Door
Proper preparation is the foundation of a flawless finish. Follow these steps:
- Remove Hardware: Take off doorknobs, hinges, and any other hardware to ensure a clean, uninterrupted surface.
- Clean the Door: Use a degreaser or mild soap and water to remove dirt, grease, and fingerprints. This step is especially important for painted cabinet doors, which tend to accumulate grime over time.
- Sand the Surface: Lightly sand the door to remove imperfections and create a surface that the paint can adhere to. If you’re refinishing cabinet doors or working with older doors, sanding helps remove old paint or finishes.
- Fill Holes and Cracks: Use wood filler to repair any dents, scratches, or holes. Let it dry completely, then sand it smooth.
- Prime the Door: Apply a coat of primer to ensure even paint coverage and prevent stains from bleeding through. This step is particularly crucial if you’re transitioning from a dark color to a lighter one or refinishing cabinet doors.
Step 3: Choose the Right Paint
Selecting the best paint for doors and trim is critical for achieving a professional look. We recommend using a high-quality, durable paint with a semi-gloss or satin finish. These finishes provide a subtle sheen that’s easy to clean and resistant to wear and tear. For high-traffic areas, opt for a paint specifically designed for interior doors and trim.
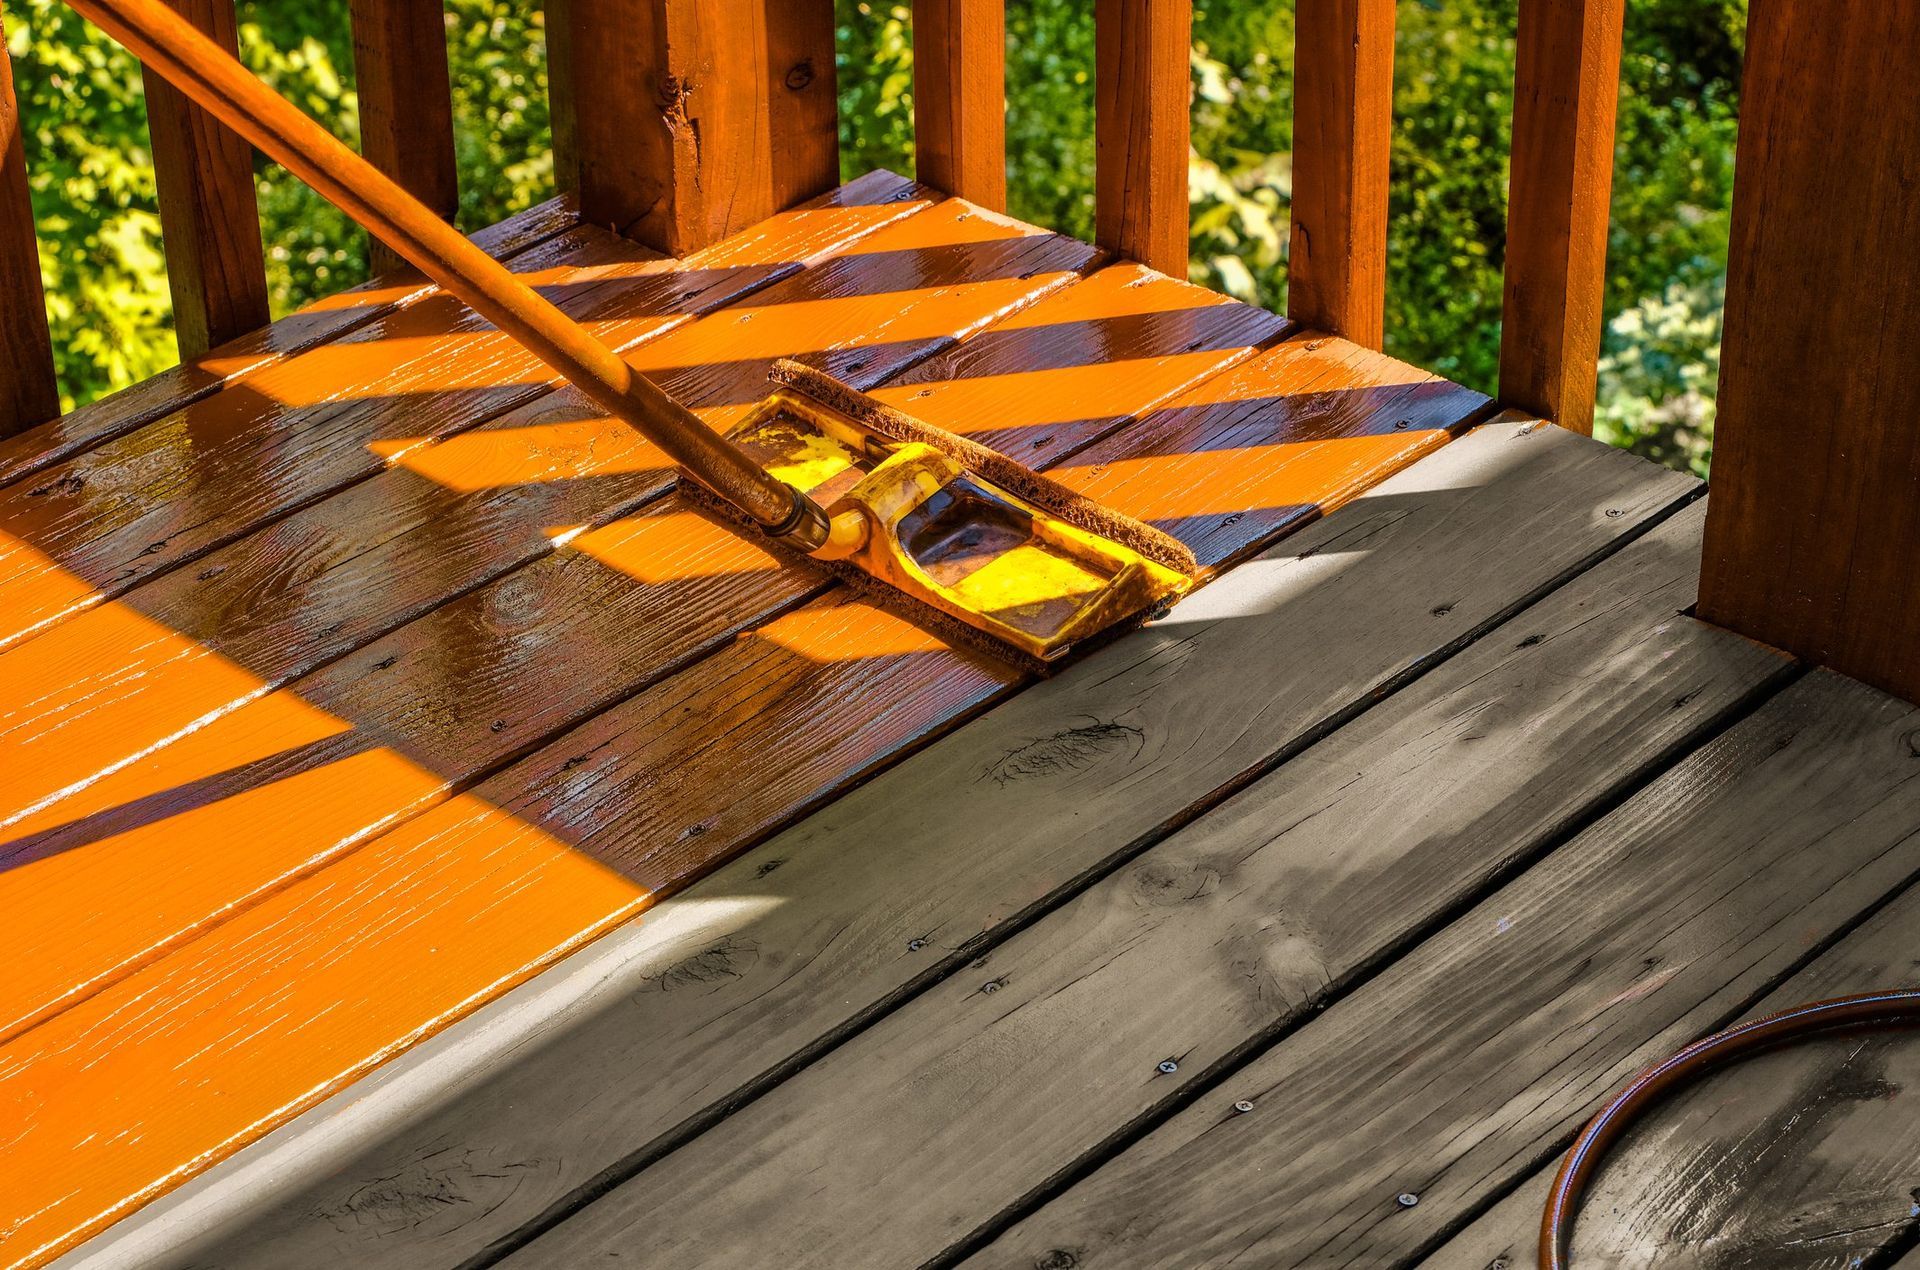
Step 4: Painting Techniques
Now comes the fun part — painting! Follow these tips to ensure a smooth, streak-free finish:
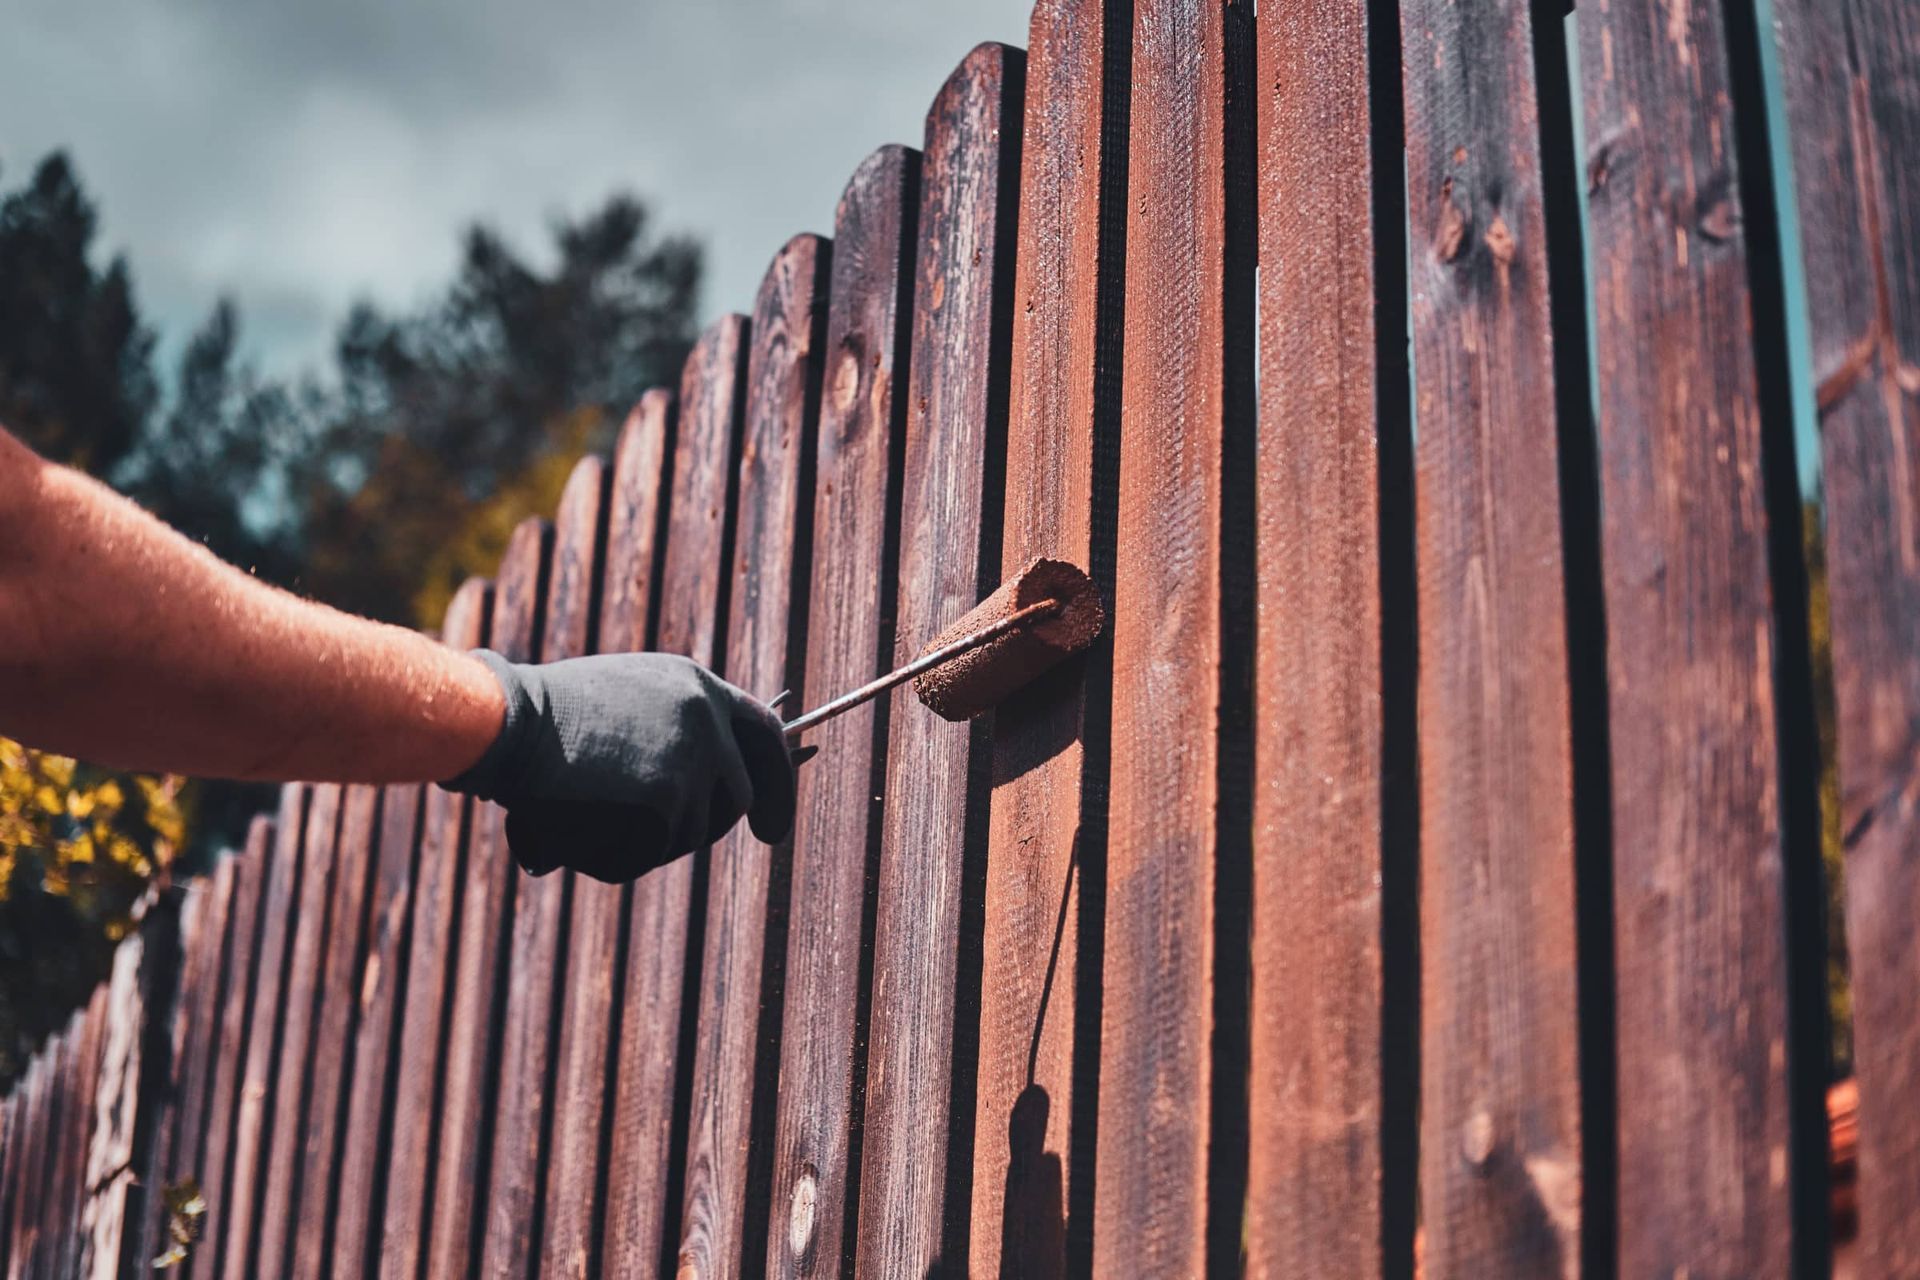
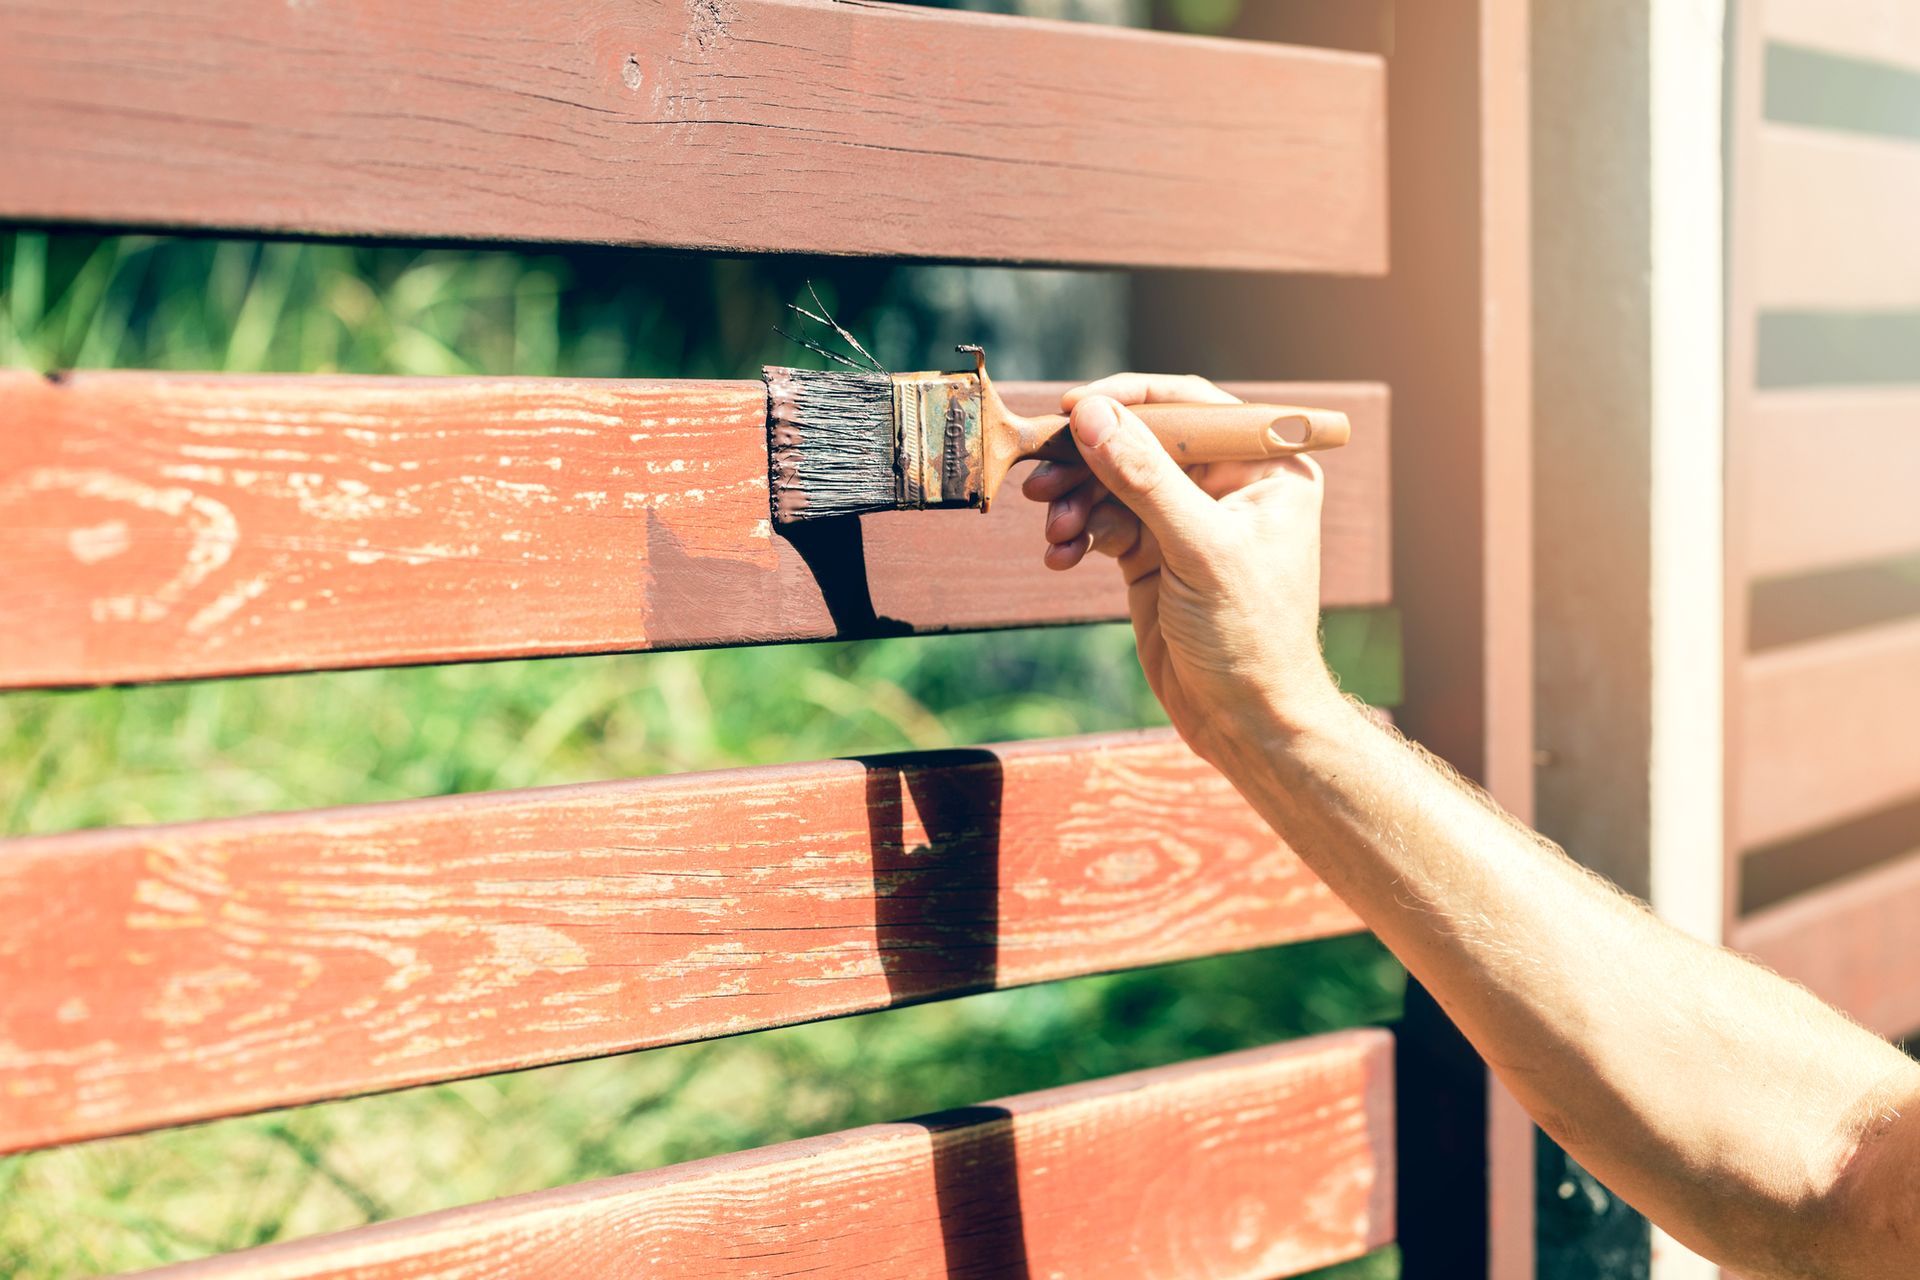
- Use the Right Tools: Start with an angled brush for edges and detailed areas, then switch to a foam roller for larger, flat surfaces. This combination ensures precision and efficiency.
- Paint in Sections: Divide the door into sections, such as panels, edges, and flat areas. Paint one section at a time to avoid visible brush marks.
- Apply Thin Coats: Thin, even coats of paint dry faster and create a smoother finish. Two to three coats are usually sufficient for full coverage.
- Follow the Grain: If your door has a wood grain texture, paint in the direction of the grain for a natural look.
- Allow Drying Time: Let each coat dry completely before applying the next one. This step prevents smudging and ensures a durable finish.
Step 5: Finishing Touches
Once the paint has dried, it’s time to reassemble and admire your work:
- Reattach Hardware: Carefully reinstall the doorknobs, hinges, and other hardware.
- Inspect for Flaws: Check for any missed spots or uneven areas. Touch up as needed with a small brush.
- Clean Up: Remove painter’s tape and clean your brushes and rollers immediately after use.
Tips for Specific Door Types
- Painted Cabinet Doors: When working with cabinet doors, remove them from the hinges for easier access. Label each door to ensure you reattach them in the correct order.
- Refinish Cabinet Doors: Sanding and priming are especially important for refinishing older cabinet doors. Consider using a paint sprayer for a factory-like finish.
- Door and Trim Paint: To achieve a cohesive look, use the same paint finish for both doors and trim.
- Common Mistakes to Avoid
- Skipping Primer: Primer ensures even coverage and helps the paint adhere better.
- Rushing Drying Time: Allow adequate drying time between coats to avoid smudges and imperfections.
- Using Low-Quality Paint: Invest in the best paint for doors and trim to achieve long-lasting results.
Why Choose AVL Painting?
At AVL Painting, we understand the importance of quality and attention to detail. Whether you’re tackling a DIY project or hiring professionals, we’re here to guide you every step of the way. With our expertise, your doors can go from dull to dazzling, enhancing the beauty and value of your home.
Need help with your door painting project? Contact AVL Painting today for professional services and personalized advice. Let us bring your vision to life!
Share This Blog